Let's build Amphetamine
Intro
This is a first of what I hope will become a series of blog posts inspired by Mike Ash’s let’s build series. I vividly remember that at first, not having a computer science degree, I strongly believed that NSArray is magical and folks over at Apple figured a way to bend O(n) when it comes to iterating over the elements and such. And while Foundation definitely packs more smarts when it comes to dealing with comon cases, it’s series like Mike Ash’s (and learning basics of computer science) helped me to see how anyone can build those.
In my series, instead of analyzing data structures and lower level functions I wanted to take a look at the apps that I find useful in my daily workflow. I want to learn how f.lux changes the screen colour, what keeps my computer awake with Caffeine or Amphetamine, how does AppZapper or AppCleaner knows which files to remove when I delete the app etc.
This series intended both as a reverse-engineering look at the internals and imagining how to architect given app. Hope you will enjoy it!
Let’s build Amphetamine
Sometimes you just want your computer not to sleep its screen to finish a long-running task, making sure it’s not interrupted. There’re several apps that do that: Caffeine and Amphetamine. Both are free, Caffeine is very simple and straight forward, while Amphetamine provides greater level of sophistication: do you want to prevent the entire computer from sleeping, or just keep the hard drives running? Do you want to prevent sleep when you get on a certain WiFi network or when certain app is launched, or maybe you want to allow computer to sleep if the battery level is low.
Let’s take both apart. Just like with any app, there are several ways to go about figuring out how it’s built: we can either google “disable sleep macOS” and make our way through the irrelevant resources or fire Hopper Disassembler and peak into the internals of the apps.
Caffeine
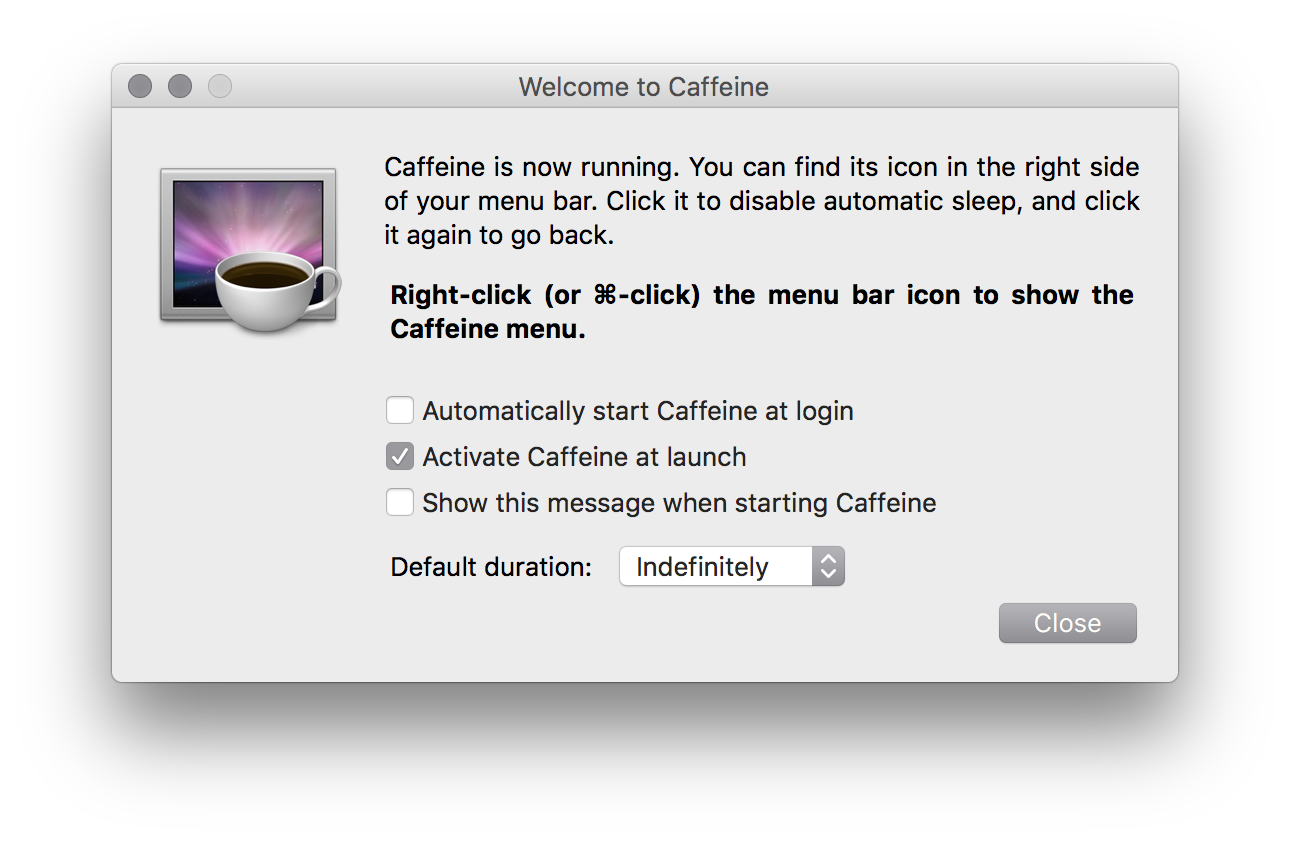
Let’s start with simpler (and a bit older) Caffeine. Few bels and whistles that it offers aside, the essence of the app is very simple.
- Schedule a timer that fires ridiculously often
- Every timer tick check if computer is trying to sleep
- To do that, get a bag of key values by calling
NSWorkspace.shared.activeApplication() - Check that value for key
NSApplicationBundleIdentifieris eithercom.apple.loginwindoworcom.apple.ScreenSaver.Engine
- To do that, get a bag of key values by calling
- If it is running, use Carbon-time API
UpdateSystemActivity(OverallAct). That will prevent computer from sleeping. It’s unclear for how long though.
If you feel like Nicolas Cage from National Treasure, here is a retired documentation. Note that the documentation mentions you can only call this method once every 30 seconds. So either I don’t understand the assembly, or author chose to ignore the warning.
Amphetamine

Just like the edgier name suggest, this is a more modern piece of software, and, as I mentioned previously, it has more to offer. 
Keeping awake
Let’s start with the essence: disabling sleep. Amphetamine uses IOKit which offers variety of tools to interface with hardware and derivers from the comfort of the user-space. The function that we want to call is
IOPMAssertionCreateWithName(kIOPMAssertionTypeNoDisplaySleep, kIOPMAssertionLevelOn, "MyApp is running an important task", &assertionID)
Several things to note here:
- String that we passed to the function is used as an explanation to why system is not allowed to sleep. I’m not sure where can I see the current reason as a user
- It’s important to hold on to the assertionID that will be populated with an identifier so that you can dispose it later when you want computer to be allowed to sleep again. To do that, call
IOPMAssertionRelease(assertionID)
Here is the Apple documentation on how to prevent display sleep
Keeping the drives alive
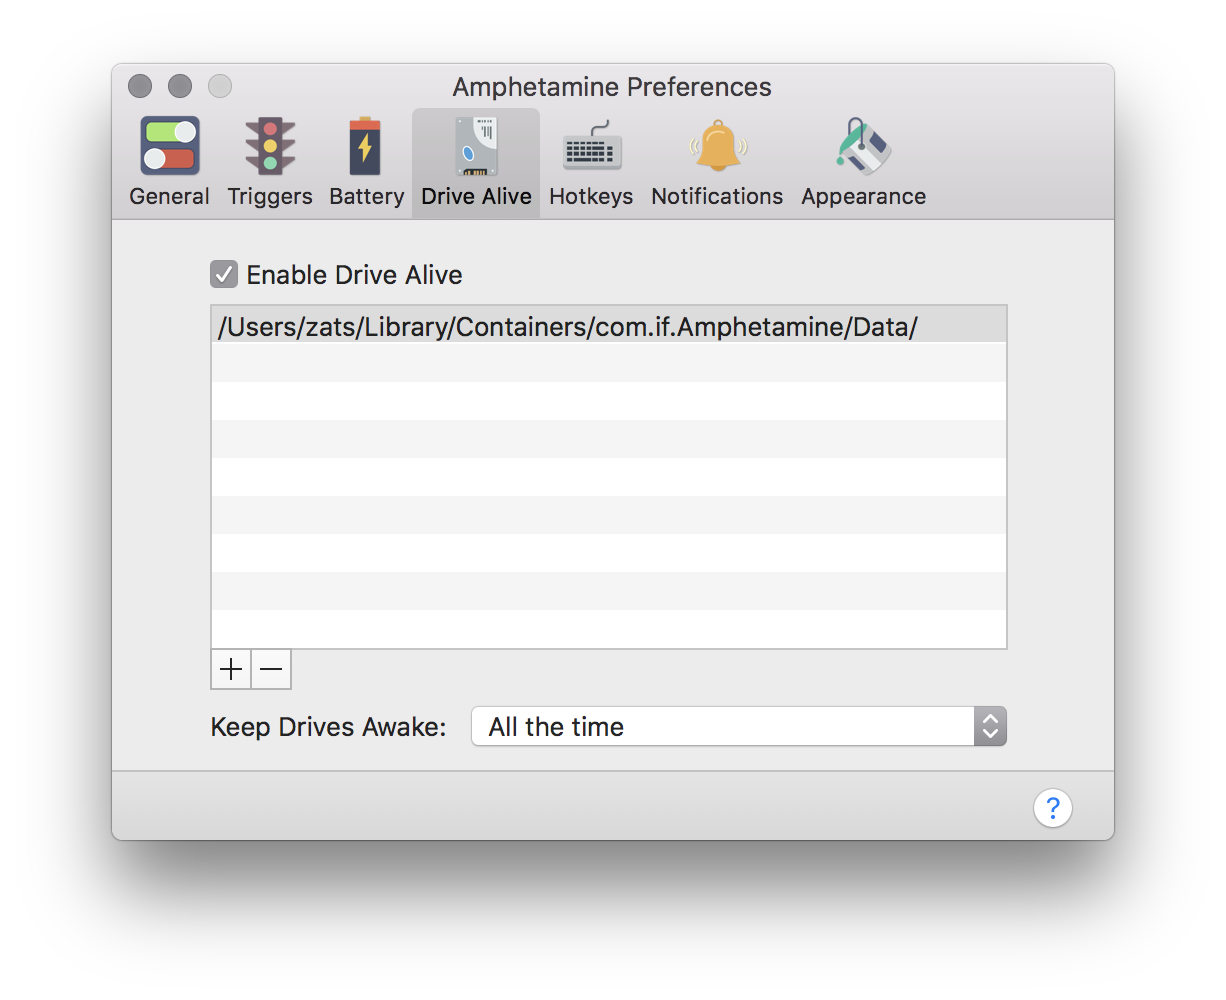
This part is actually fairly straight forward, there’s no API macOS offers to keep the hard drives awake, but it’s fairly trivial to do it yourself. As a matter of fact every time you perform any disk IO, the disk must be awake to allow you to read a file. In case of Amphetamine, it holds on to the list of the drives you want to keep awake. Once the timer fires, we perform following
- Create a
URLfor each drive usingURL(resolvingBookmarkData:options:relativeTo:bookmarkDataIsStale:) - Using
checkResourceIsReachableAndReturnErrorto verify if the bookmark became inaccessible since last time we ran the method (this is done so that app can be sandboxed) - Announce that we are starting accessing the scoped bookmark by calling
startAccessingSecurityScopedResource - If the bookmark is available, Amphetamine writes an invisible file called
.Amphetamine.DriveAlivewith a random number inside of it (just so the file won’t be empty I guess) - Finally let the system know that you won’t longer need the resource by calling
stopAccessingSecurityScopedResource
Battery level
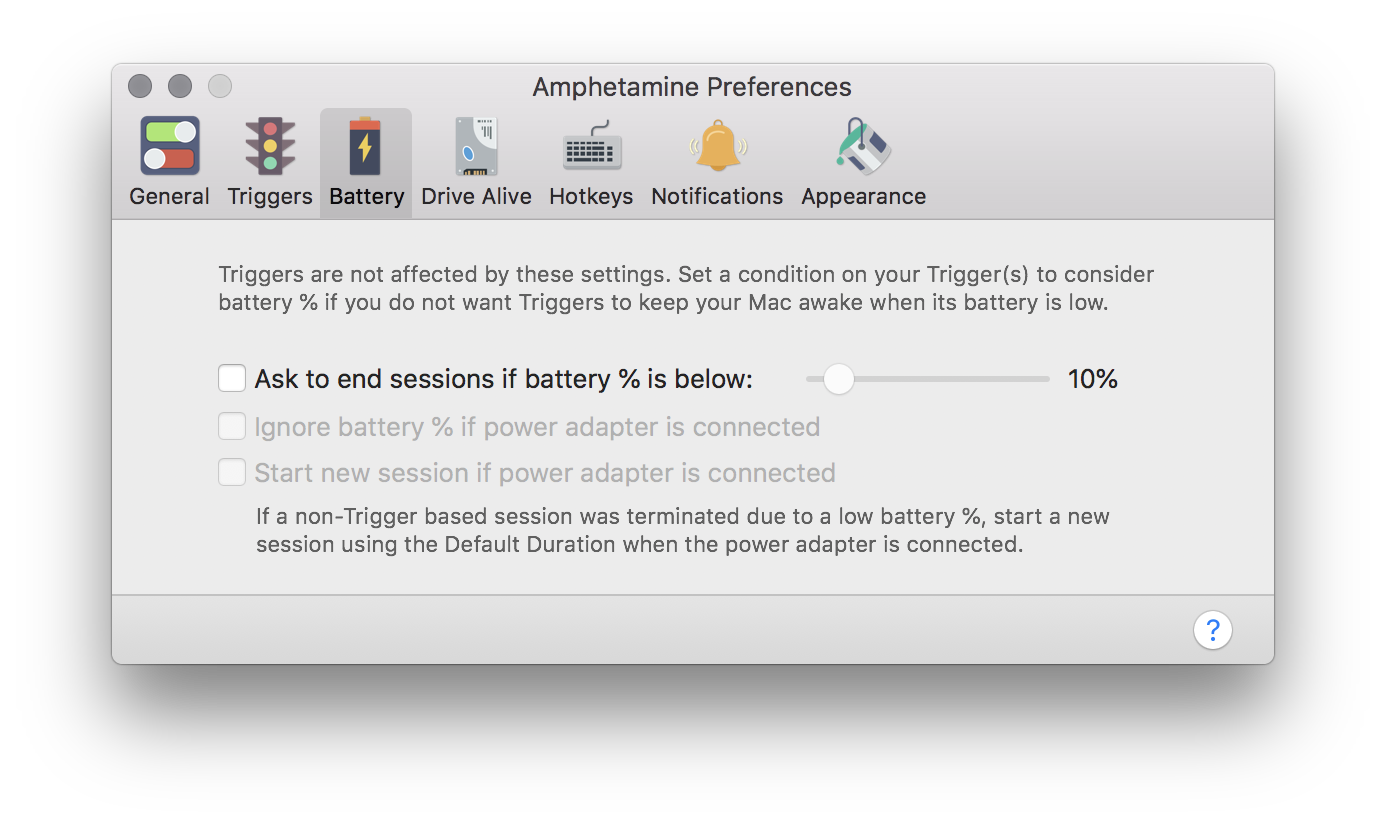
Amphetamine allows to prevent session if your battery level is getting low. This uses pretty much the same trick of sampling the battery level over certain time interval. Here is a sample of how to get it:
import Foundation
import IOKit.ps

let info = IOPSCopyPowerSourcesInfo().takeRetainedValue()
let sourcesList = IOPSCopyPowerSourcesList(info).takeRetainedValue() as [CFTypeRef]
let power = IOPSGetPowerSourceDescription(info, sourcesList[0])!.takeRetainedValue() as! Dictionary<String, Any>
power[kIOPSCurrentCapacityKey]
this will return an integer representing the battery level such as 88 or 12. Once we see that percentage went below certain number, we can pause the session.
Option of ignoring battery level and restarting the session if you are plugged in is equality easy to implement by checking for power[kIOPSPowerSourceStateKey] == kIOPSACPowerValue
Triggers
 
Amphetamine allows to automate session behavior using WiFi name or certain app being launched.
Current Wifi name (also known as SSID) can be queried via

Amphetamine allows to automate session behavior using WiFi name or certain app being launched.
Current Wifi name (also known as SSID) can be queried via CWWiFiClient.shared().interface()?.ssid(). To be notified about SSID being changed, you can use following code
import CoreWLAN

let client = CWWiFiClient.shared()
try! client.startMonitoringEvent(with: .ssidDidChange)
client.delegate = delegate

// in delegate
public func ssidDidChangeForWiFiInterface(withName interfaceName: String) {
  if let ssid = CWWiFiClient.shared().interface()?.ssid() {
    // check if ssid matches any of the ones user specified
  }
}
Lastly to detect the apps being launched, there’s a notification we can listen to. The only tricky detail to note is that we don’t use shared notification center, instead we use the one that NSWorkspace points to:
import AppKit

let center = NSWorkspace.shared.notificationCenter
center.addObserver(forName: NSWorkspace.didLaunchApplicationNotification, object: nil, queue: nil) { notification in
  if let app = notification.userInfo?[NSWorkspace.applicationUserInfoKey] as? NSRunningApplication {
    print(app.bundleIdentifier)
  }
}
We already looked at the power as a trigger in the previous section. As far as scheduling events, local notifications might be a good way to go allowing to schedule an invisible to the user notification that will ping your app but more importantly handle all the date math for you. You can refer to the documentation over at Local and Remote Notifications or User Notifications (depending which OS versions are you targeting)
Architecture
When thinking about architecting this kind of software, I’d take in account that number of triggers might grow in the future (or you might want to provide some of them as payed upgrade). That makes me want to architect it as a system of plugins of 2 types:
- Where system API allows I would go with pub-sub type of plugins, reporting when certain even occured
- Where it’s not possible, due to lack of API, I’d create a scheduler iterating over the enabled plugins, asking each plugin to evaluate itself
Once both systems reconcile results, plugin manager passes the judgment whether to enable or disable no sleep mode. Plugin manager here acts as a plugin suite. I would create 1 manager per set of triggers:
- Keep computer awake if
$ brew updateis running, but allow to fall asleep if the battery level is bellow 5% - Keep computer awake if connected to “At work” wifi, allow to sleep if battery is under 10%, but keep awake if the computer plugged to the power, etc..
Also having independant plugins will allow to test each one of them. Since we are dealing with a lot of hardware-related and time-dependant data, ideally every plugin should take a data provider that
- shields the plugin from talking direcly to the hardware or date API
- allows to pass a mock data provide instead to allow predictable testing
Following is a rough implementation of various parts of the architecture outlined above. Keep in mind that I skipped certain sharp corners around Swift associatedtype since I didn’t want to pollute example with type erasures. I also use marker protocols extensively, this will allow to pull out common functionality later. Treat following code as more of a UML diagram.
Plugins
protocol PluginProtocol {
}

protocol NotifyingPluginProtocol: PluginProtocol {
  var lastResult: PluginEvaluationResult { get }
  init(provider: PluginDataProviderProtocol, manager: PluginManagerProtocol)
}

protocol EvaluatedPluginProtocol: PluginProtocol {
  func evaluate() -> PluginEvaluationResult
}
Here we define 2 types of plugins I mentioned previously, when plugin manager is trying to figure out should we allow system to sleep or not, we don’t want any asynchronyous operations here, that’s why pubsub based plugins should cache their PluginEvaluationResult.
enum PluginEvaluationResult {
  case allowSleep
  case preventSleep
  case noOp
}
PluginEvaluationResult allows to express 3 situation:
allowSleep- plugin wants to guarantee system is allowed to sleepnoOp- plugin has no opinion on whether system sleeps or stays awakepreventSleep- plugin wants to keep system awake unless any other plugin wants to allow system to sleep
We will take a look at the concrete examples below
Plugin data providers
As mentioned before, we want to abstract plugins data access to reduce coupling and allow stubbing for tests. Implementation of those is not too important, but here are the examples of pubsub plugin data provider and eagirly evaluated one
protocol PluginDataProviderProtocol {
}

protocol BatteryProivderProtocol: PluginDataProviderProtocol {
  var batteryLevel: Int { get }
}

protocol AppLaunchProviderProtocol: PluginDataProviderProtocol {
  typealias SubscriptionToken = Int
  init(appBundleId: String)
  func subscribe(_ handler: (AppLaunchEvent) -> Void) -> SubscriptionToken
  func unsubscribe(_ token: SubscriptionToken)
}
Each concrete plugin should be instantiated with one, they can be shared if needed.
Battery plugin can be implemented like so:
class BatteryPlugin: EvaluatedPluginProtocol {
  let dataProvider: BatteryProivderProtocol

  init(dataProvider: BatteryProivderProtocol) {
    self.dataProvider = dataProvider
  }

  func evaluate() -> PluginEvaluationResult {
    if dataProvider.batteryLevel < 10 {
      return .allowSleep
    } else {
      // when battery level is above 10%, this plugin doesn't care if system sleeps or not
      return .noOp
    }
  }
}
Plugin reacting to the app launch:
class AppLaunchPlugin: NotifyingPluginProtocol {
  let provider: AppLaunchProviderProtocol
  let manager: PluginManagerProtocol
  // another workaround to allow to capture weak self in the subscription block down bellow
  private var token: AppLaunchProviderProtocol.SubscriptionToken!

  private (set) var lastResult: PluginEvaluationResult = .noOp

  required init(provider: PluginDataProviderProtocol, manager: PluginManagerProtocol) {
    self.provider = provider as! AppLaunchProviderProtocol
    self.manager = manager

    self.token = self.provider.subscribe { [weak self] event in
      guard let `self` = self else {
        return
      }
      switch event {
      case .launched:
        self.lastResult = .preventSleep
      case .terminated:
        self.lastResult = .noOp
      }
      self.manager.requestEvaluation(for: self)
    }
  }

  deinit {
    provider.unsubscribe(token)
  }
}
Fundamental differences between two plugins are:
- battery is eagierly evaluated upon scheduler firing externally, while app launch plugin reacts to notifications that might fire any moment
- battery plugin will either allow system to sleep (preventing evaluation of subsequent plugins) or result in no-op result in allowing system to sleep or no-op, app launch plugin
Plugin manager
This is the core of the plugin system. It should encapsulate a set of conditions. In restrospect I should’ve named it something like PluginsSuite since it encapsulates several plugins, meaning there should be another entity keeping track of all the PluginsSuites, but hopefully you get the gist.
- It only focuses on handling plugins
- It doesn’t handle scheduling logic
- It doesn’t handle logic of keeping the system awake
evaluatePluginsis the core function that will make sure to query latest values from all the plugins- any plugin allowing system to sleep short-circuits to allow system to sleep immediately
- if plugin wants to prevent system from sleeping we continue evaluation to the end and only if no other plugin wants to allow to sleep we will call
preventSleepat the end
class PluginManager: PluginManagerProtocol {
  var plugins: [PluginProtocol] = []

  typealias AllowSleepCallback = () -> Void
  let allowSleep: AllowSleepCallback

  typealias PreventSleepCallback = () -> Void
  let preventSleep: PreventSleepCallback

  let scheduler: PluginEvaluationScheduler

  // We don't want to encapsulate logic of sleep management itself here,
  // so we will take callbacks that will take care of actual logic
  // this will also make the code more testable
  init(allowSleep: @escaping AllowSleepCallback, preventSleep: @escaping PreventSleepCallback, scheduler: PluginEvaluationScheduler) {
    self.allowSleep = allowSleep
    self.preventSleep = preventSleep
    self.scheduler = scheduler
    scheduler.setup(with: self.onSchedulerFire)
  }

  func requestEvaluation(for plugin: NotifyingPluginProtocol) {
    evaluatePlugins()
  }

  func onSchedulerFire() {
    evaluatePlugins()
  }

  private func evaluatePlugins() {
    var result: PluginEvaluationResult = .noOp

    for plugin in plugins {
      let currentResult: PluginEvaluationResult

      if let evaluatingPlugin = plugin as? EvaluatedPluginProtocol {
        currentResult = evaluatingPlugin.evaluate()
      } else if let notifyingPlugin = plugin as? NotifyingPluginProtocol {
        currentResult = notifyingPlugin.lastResult
      } else {
        assertionFailure("Unknown plugin type: \(plugin)")
        continue
      }
      switch currentResult {
      case .allowSleep:
        // as soon as one plugin allows to sleep, stop evaluating plugins
        allowSleep()
        return
      case .preventSleep:
        result = .preventSleep
        // if we will find plugin that allows to sleep later, we should ignore this value
      case .noOp:
        // this means plugin has no opinion whether system should
        continue
      }
    }

    switch result{
    case .allowSleep:
      assertionFailure("This is impossible")
    case .noOp:
      break
    case .preventSleep
      preventSleep()
    }
  }
}
Outro
This should give you a good sense of what are the building blocks API for the app that keeps your laptop awake and uses certain event types (quite common in the automation software) to trigger this behavior. As a rule I would try to stay away from polling with timers and always look for a framework providing relevant notification - this way you are opting into Apple’s ecosystem (along with bugs of course) and will get future improvements for free.
While Amphetamine’s architecture is quite different, we took a look at one of the possible architectures that would allow adding more plugins as you think of the new cases and keep code testable.
As always, feedback is very welcome! You can find me on twitter @zats